Sorry, your search did not match any entries.


In case you are seeking the top AI image editing application or the top AI face swap application in 2026,...
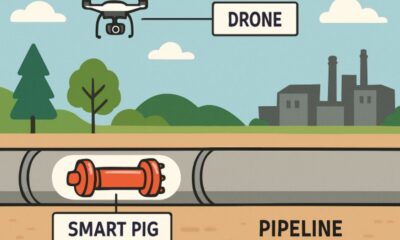
Modern pipeline networks are the arteries of industrial infrastructure, transporting vital resources across vast distances. Ensuring their safe and efficient...


Why Sound Matters More Than You Think Sound silently drives our days in countless ways—lifting energy, calming nerves, or stirring...


Tex9.net is transforming the way teams collaborate and manage their work. In today’s fast-paced digital landscape, having a reliable platform...


Introduction to Zero Trust Security In the rapidly advancing digital world, safeguarding data and information systems is a priority for...


Every organization serves as a window into a specific world of ideas and action, and Oneworldcolumns.org/ is no exception. It...


The digital world is evolving at a breakneck pace, and the way we design websites is evolving alongside it. Businesses,...


Welcome to the exciting world of Xlecz, where innovation meets technology in ways we’ve only dreamed of. This groundbreaking platform...


The healthcare industry is rapidly evolving to meet the growing demand for efficient, technology-driven care solutions. At the heart of...


Over the past few months, the term “Izaf57663” has been lighting up online communities and professional spaces. But what exactly...